5 Simple Steps to Buying a Home
1. Find Your Home
- Understand your Wants versus Needs - Consider new construction versus resale, and Quick-Move-In versus custom-built homes
- Determine An Affordable Price Range - Use our easy Mortgage Calculator to estimate your monthly payments
- Learn more at Pultemortgage.com
- Explore Our Communities - Discover our vast array of communities across the country. Find where we build
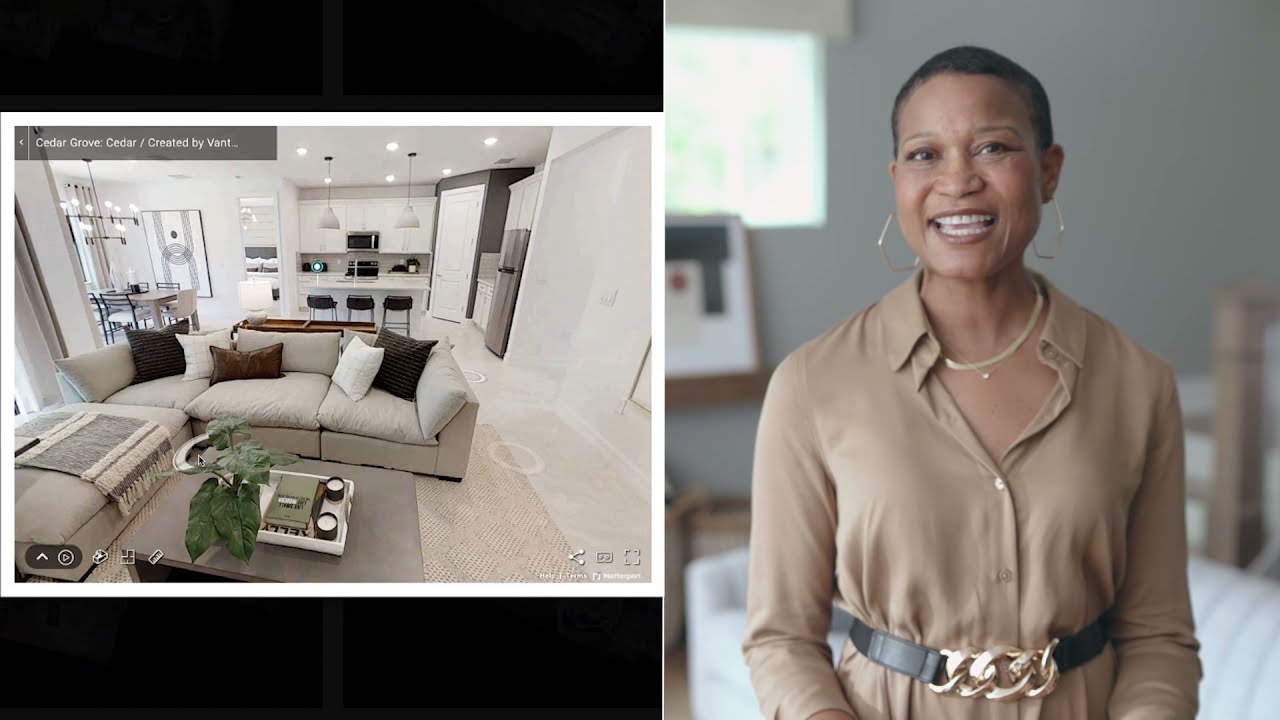
- Envision Your Dream Home - Explore your home options for elevation, floorplan, homesite and interior design
- Schedule a Tour - Schedule an in person or virtual community tour with a sales consultant. Learn all the easy ways to shop
- Need to sell your current home? - Consider homebuying companies like Opendoor
2. Design & Purchase Your Home

- Sign Your New Home Purchase Agreement - Finalize floorplan & structural options as well as provide earnest money for your home
- Initiate Financing Process - Provide Evidence of Cash Funds or Complete Loan Application
- Complete Loan Application - Our partners at Pulte Mortgage walk you through the process step by step
- Find Design Inspiration- Create an account in Owner’s Entry and save images of models and floor plans that complete your vision. Need more inspiration? Shop furniture and accessories as seen in our model homes.
- Make Design Selections- Attend your design appointment to choose the finishes that showcase your style and make your home yours.
- Conditional Loan Approval - Once the Change Order for your design selections has been made, your lender will need to approve the new total purchase price
3. Build Your Home
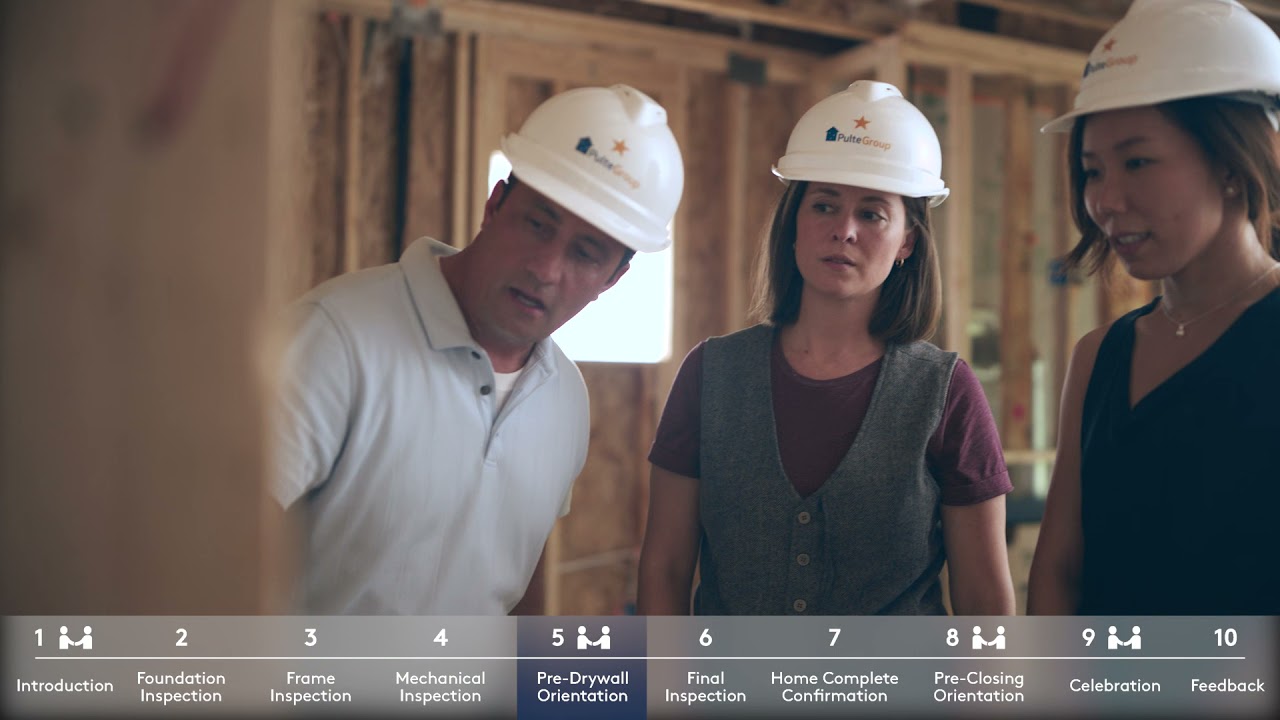
Our signature Build Quality Experience is a process that fosters communication & delivers high standards of quality and attention to detail.
Learn more about these 4 key touchpoints during the process:
4. Close on Your Home
- Getting Ready to Close on Your New Home? Here's a handy checklist to use on your closing day.
- Insuring Your Home - Contact Pulte Insurance Agency for a free, no obligation insurance quote
- Lock in your interest rate
5. Understand Your Home’s Warranty

- Warranty Details - Centex offers a 10-year limited warranty. Get the Details
- Decorating Your Home- Browse the furniture and accessories used in your favorite model home
- Partner Discounts - Visit Owner's Entry for exclusive discounts
- Maintenance Tips - Review our tips for regular and seasonal maintenance to protect your home and help maintain its value
- One Year Review - We will schedule Built-to-Last Checkpoint to review any warranty work for one year from the time of closing. Learn how to prepare
- Transferrable Warranty - The warranty is transferable if you sell your home within the applicable warranty period